|
|
|
Installing a Camaro Rear Sway Bar on your truck.
If you want to stiffen the suspension of your truck, the options are limited. When lowering the rear suspension, adding gas tanks, and exhaust, this eliminates the use of available aftermarket sway bars. However there are other aftermarket bars that will work, but their design is poor. An alternative seems to be the use of a 1982 to present Camaro sway bar. Anytime you swap parts designed for one vehicle to another, there are some snags. What makes this bar so desirable is that it can work without interfering with original or aftermarket track bar kits, blazer tanks, rear end cover or bump stops. Some aftermarket sway bars mount to the back of your axle housing. This can cause two problems. If you lower your truck a large amount you should go with an extended track bar. Those bars will not clear extended track bars. Also those same sway bars mount right in front of your rear end cover. Requiring you to remove it each time you need your cover off. Some other bars mount to the bottom of your trailing arms. These not only hang low but have very little leverage.
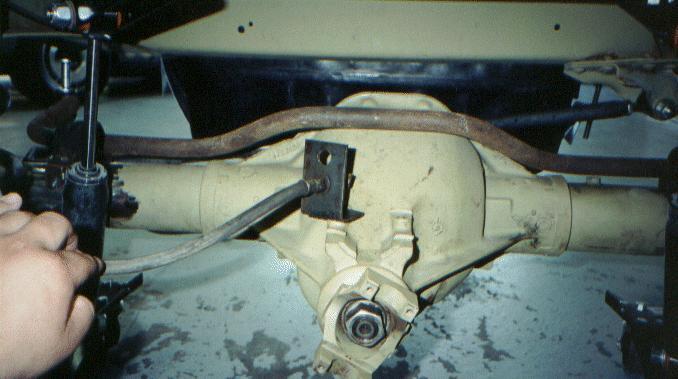
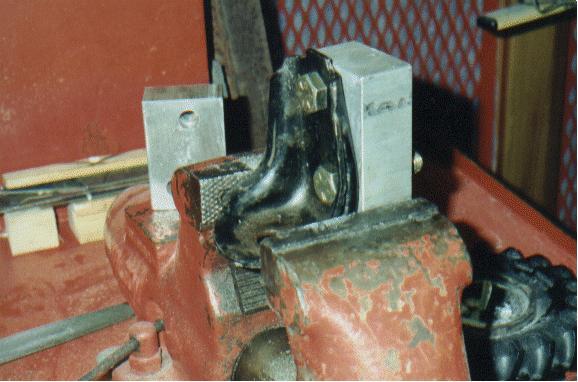
Before the test fitting can start, the bar
comes with 2 saddles that must be notched.
These saddles sit on the axle tubes and attach to the sway bar.
Camaros have 2.75 inch tubes, so the saddles must be ground out to fit
3” tubes. When these are notched
correctly they can be bolted to the sway bar and the bar placed on the rear end
for positioning. Before starting
this installation it is important to make sure the rear end is centered with the
frame. Each saddle, which will be welded onto the rear end, must be the
same distance from the center point of the rear end..
The sway bar it self must be center with the frame.
I lined up the center of the sway bar, with the center of my frame.
Once that position is known, move the sway bar bushings as far out as
possible while leaving some room to make final side to side adjustment of the
sway bar. Now measure from the
center of the axle to each bushing. Make
sure each one is the same distance from center.
Now that this location is known, these saddles can be welded to the rear
end.
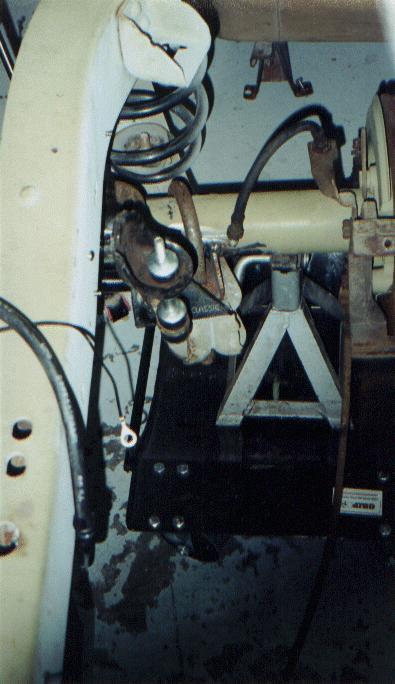
 You
can now see that bar is about 2 and a ¼ inches too wide.
This isn’t a major problem. I’m
using 1 and a 1/8 inch aluminum blocks on each side to fill in the
gap. Also the factory L brackets have inconsistent mounting holes.
So I drilled each one to ½ inch. I
used these large bolts to hold them extra tight to the frame.
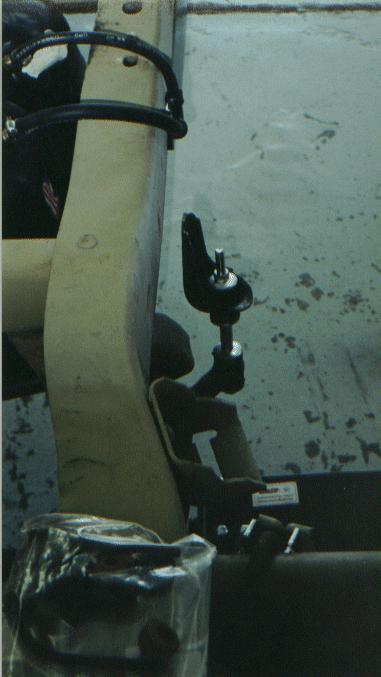
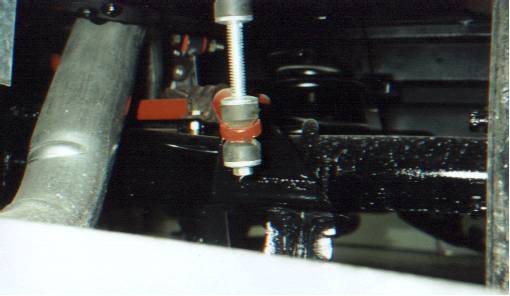
Also notice the length of each end link.
The spacer can be cut or a longer one bought.
Use this to adjust the sway bar position to give you more clearance for
things like exhaust and other suspension pieces.
However keep in mind the farther away the bar is to being parallel to the
ground the less effective it will be.
You
can now see that bar is about 2 and a ¼ inches too wide.
This isn’t a major problem. I’m
using 1 and a 1/8 inch aluminum blocks on each side to fill in the
gap. Also the factory L brackets have inconsistent mounting holes.
So I drilled each one to ½ inch. I
used these large bolts to hold them extra tight to the frame.
Also notice the length of each end link.
The spacer can be cut or a longer one bought.
Use this to adjust the sway bar position to give you more clearance for
things like exhaust and other suspension pieces.
However keep in mind the farther away the bar is to being parallel to the
ground the less effective it will be.
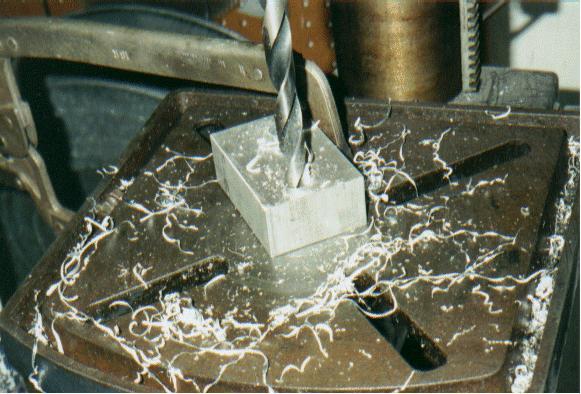
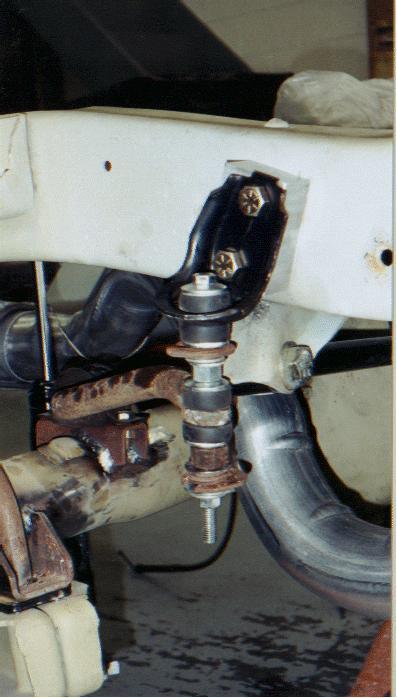
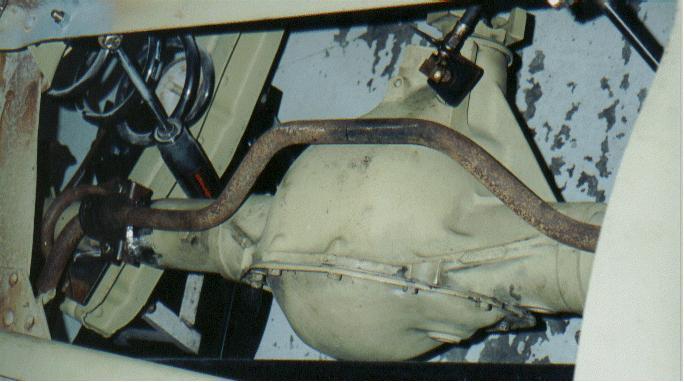
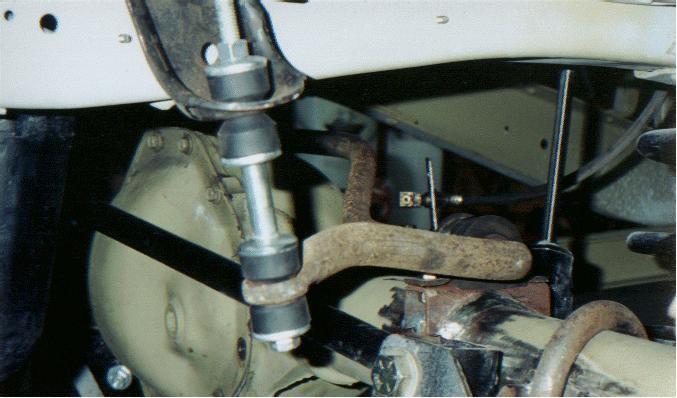
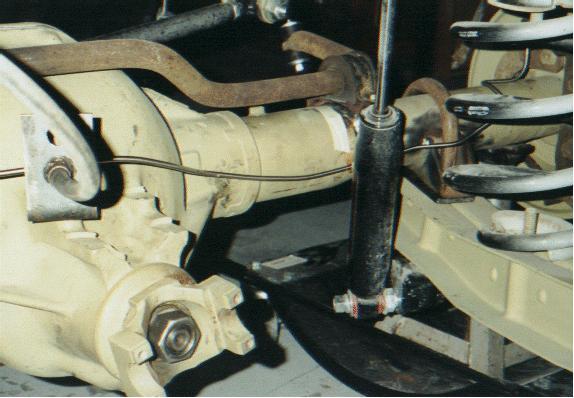
First the original Camaro end link bracket has it's holes enlarged to 1/2 inch. Then the aluminum blocks are positioned and the holes are marked. Its important to get the holes exact to eliminate any slop. Being a suspension part, having exact fit is critical. I was lucky. The aluminum blocks fit as close to perfect as possible. The holes align very well and there is zero slop between the two. Next is another tricky part. I taped the aluminum block to the end link bracket as tight as possible. Then mounted it to the sway bar as in the top right picture above (tape not shown in picture). The the bolts were carefully removed and the holes were marked. Again great care should be taken when drilling the holes into the frame. Once these holes are drilled there are just a few fine tuning steps to complete. Its now time to determine the length of your end links. This is adjusted by using different length tubes or by inserting (or removing) washers. After going through all this fitting up, you probably are pretty close. But, once you have your final ride height, the tip of the sway bar that attaches to the end link and the elbow (point of the bar that makes a 90º from the axle towards the end link) should be roughly parallel to the ground. This is just to make sure the bar doesn't bind up and delivers it's all its potential stiffness.

As the picture shows, the bar is very well concealed under the truck. To compensate, I painted my sway bar red to make it easier to show people at events. Also most new high performance suspension pieces come powder coated red. This is the same red that is used on the exterior of my truck. Seemed like a good touch. The bar has no clearance problems that I have found. In the top left picture you can see the upper end link mount. It is a very OEM appearing piece. This is the best rear sway bar set up I have found for these trucks.